[Nest.js 정리] 파일 업로드 - 정적 파일 서빙 (고전)
📌 Multer
복잡한 파일 업로드과정을 단순하게 해주는 자바스크립트의 라이브러리
이미지를 넣을 수 있는 게시글 작성 기능을 개발한다고 가정하고 진행해보자.
yarn add
1
yarn add multer @types/multer uuid @types/uuid
- 사진을 그대로 올릴순 없다.
uuid를 활용한다.
Entity의 수정
- 파일을 올리기 적합하도록 수정하자.
1
2
3
4
5
6
7
// posts/entities/posts.entity.ts
// ...
@Column({
  nullable: true,
})
image?: string;
// ...
위의 예시처럼 string을 받도록 추가하자.
Multer의 사용
Multer을 사용하기위해선 ~.module.ts에 이를 불러와야한다. 사용할 때 다양한 옵션이 있는데, 이는 공식자료를 확인하자.
주요 옵션으로는 사이즈제한, 파일양식제한 등이 있다.
1
2
3
4
5
6
7
8
9
10
11
12
13
14
15
16
17
18
19
20
21
22
23
24
25
26
27
28
29
30
31
32
33
34
35
36
37
// posts/posts.module.ts
MulterModule.register({
  limits: {
    // 바이트단위로 사이즈 제한
    fileSize: 10000000,
  },
  fileFilter: (req, file, cb) => {
    /**
     * cb(에러, boolean)
     *
     * 첫번째 파라미터는 에러가 있을경우 에러 정보를 넣어준다.
     * 두번째 파라미터는 파일을 받을지 말지 boolean을 넣어준다.
     */

      // path에서 extname import 하여 사용
    const ext = extname(file.originalname);
    if (ext !== '.jpg' && ext !== '.jpeg' && ext !== '.png') {
      return cb(
        new BadRequestException(
          'jpg, jpeg, png 형식의 파일만 업로드 가능합니다.',
        ),
        false,
      );
    }
    return cb(null, true);
  },
  storage: multer.diskStorage({
    // 파일을 어디로 보낼까
    destination: function (req, res, cb) {
      cb(null, POST_IMAGE_PATH);
    },
    // 파일을 저장할 때 어떤 양식으로 저장할까
    filename: function (req, file, cb) {
      cb(null, `${uuid()}${extname(file.originalname)}`);
    },
  }),
}),
여기서 파일 경로는 path의 join과 process객체의 cwd()으로 불러온 경로를 활용하여 정할 수 있다.
1
2
3
4
5
6
7
8
9
10
11
12
13
14
15
16
17
18
19
20
21
22
23
24
25
// 서버 프로젝트의 루트 폴더

import { join } from 'path';

// current working directory : cwd
export const PROJECT_ROOT_PATH = process.cwd();

// 외부에서 접근 가능한 파일들을 모아둔 폴더 이름
export const PUBLIC_FOLDER_NAME = 'public';

// 포스트 이미지 저장
export const POSTS_FOLDER_NAME = 'posts';

//실제 공개폴더의 절대경로
export const PUBLIC_FOLDER_PATH = join(PROJECT_ROOT_PATH, PUBLIC_FOLDER_NAME);

//포스트 이미지 저장 폴더
export const POST_IMAGE_PATH = join(PUBLIC_FOLDER_PATH, POSTS_FOLDER_NAME);

// /public/posts/xxx.jpg
// {프로젝트위치}/public/posts
export const POST_PUBLIC_IMAGE_PATH = join(
  PUBLIC_FOLDER_NAME,
  POSTS_FOLDER_NAME,
);
📌 FileInterceptor
위처럼 세팅을 마쳤으면 controller와 service에서 파일을 받을 수 있도록 해야한다. 이 때 FileInterceptor을 사용한다.
1
2
3
4
5
6
7
8
9
10
11
12
13
// posts.controller.ts
@Post()
@UseGuards(AccessTokenGuard)
@UseInterceptors(FileInterceptor('image')) // 이미지를 인터셉트, image라는 키값으르 확인함
postPosts(
  // @Request() req : any,
    @User('id') userId: number,
    @Body() body: CreatePostDto,
    @UploadedFile() file?: Express.Multer.File,
) {
    const authorId = userId;
    return this.postsService.createPost(authorId, body, file?.filename);
}
1
2
3
4
5
6
7
8
9
10
11
12
13
14
15
async createPost(authorId: number, postDto: CreatePostDto, image?: string) {
// create => 저장할 객체를 생성한다.
// save => 객체를 저장한다. (create 매서드에서 생성한 객체로)
// 이를 조합해서 진행하자!
const post = this.postsRepository.create({
  author: {
    id: authorId,
  },
  ...postDto,
  image: image,
  likeCount: 0,
  commentCount: 0,
});
const newPost = await this.postsRepository.save(post);
return newPost;
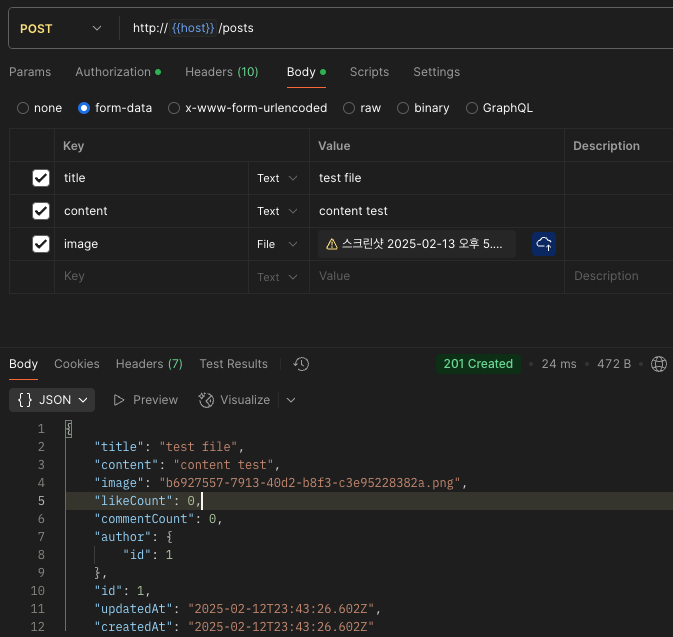
이후 postman에서 정상적으로 업로드 됨을 확인할 수 있다.
서빙된 이미지 확인하는 방법.
nestjs에선 정적 파일을 서빙하는 라이브러리를 제공한다.
1
yarn add @nestjs/serve-static
이를 사용하면 정적 파일 서빙을 쉽게 할 수 있는데, 다음의 과정을 통해 진행하면 된다.
app.module에 추가하기
1
2
3
4
5
6
7
@Module({
  imports: [
    ServeStaticModule.forRoot({
      rootPath: PUBLIC_FOLDER_PATH,
      serveRoot: '/public',
    }),
    // ...
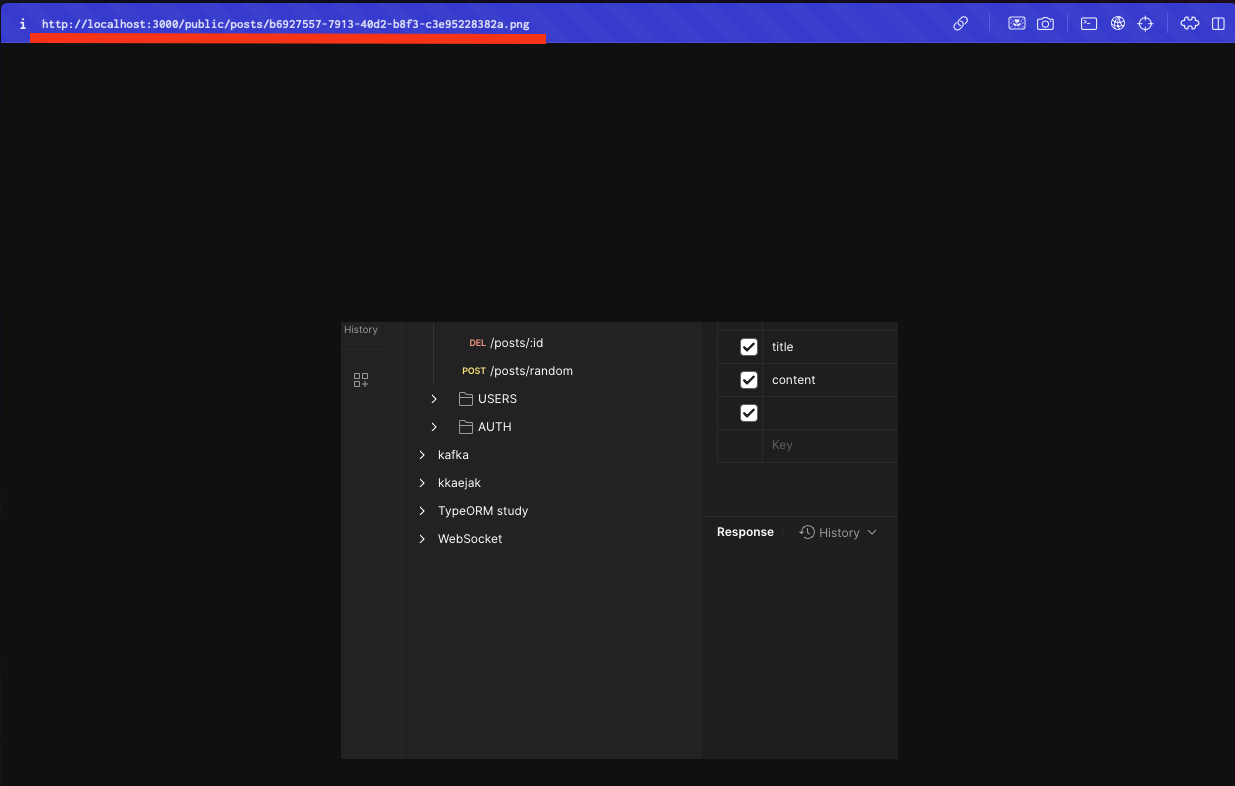
이처럼 코드를 추가하자. 여기서 /public으로 serveRoot를 설정한 것은, /public/posts와 같이 접근할 때 정적 이미지를 제공하도록 경로를 지정하기 위함이다.
이후 다음과 같은 경로에서 이미지가 존재함을 확인할 수 있다. 프론트엔드는 이 주소에서 이미지를 가져와서 활용하면 된다.
경로 수정하기
이미지의 명칭을 보내주는 것 보단, 어떤 디렉토리에 있는지까지 한번에 보내주면 더 좋지 않을까? 단순한 이미지 이름만 보내주기보단 /public/posts/image_name.png처럼 말이다.
이는 entity에서 @Transform을 활용하여 수정 가능하다. path의 join과 이를 활용하여 새로운 주소값으로 변환하여 보낼 수 있다.
1
2
3
4
5
@Column({
  nullable: true,
})
@Transform(({ value }) => value && `/${join(POST_PUBLIC_IMAGE_PATH, value)}`)
image?: string;
💡결론
Multer을 활용하여 파일을 업로드할 수 있다.FileInterceptor을 활용한다.
- 파일은
string형식으로 받는다. path에서 제공하는 함수로 경로를 설정할 수 있다.@nestjs/static-serve를 활용하여 정적 페이지 서빙이 가능하다.
📚 Ref
인프런-코드팩토리 NestJS